
Note: The new version of BrainMaker maintains many of the features mentioned in this webpage, but the GUIs, menus, and actions are different. Please don't rely on the following information for a tutorial of BrainMaker- it is only intended to provide a glimpse at the features until I get around to making a proper set of help webpages for the new version.
Features:
Drawing Regions-of-Interest (ROIs) seems to be one of the painful but unavoidable tasks necessary for many modern image analysis techniques. BrainMaker attempts to make this process as rapid and enjoyable (!) as possible, while still giving you complete control over the ROIs you draw. The ROIs drawn with BrainMaker are compatible with other SPAMALIZE programs as well as with other image analysis programs such as AFNI, AIR, and SPM99. This program has undergone a series of refinements and upgrades over the past 5 years, and is reasonably stable and (as far as I know) accurate.

The picture above shows BrainMaker's compact menu (really!). In the top row, the pencil, eraser, and combination buttons let you draw or erase individual pixels. The size of the "paintbrush" can be changed by selecting one of the three box icons. You can free-hand draw a ROI (or remove an interior region) or draw standard ROI shapes using the freehand tools. The hound-dog icon lets you perform a connected-pixel search starting from the current location. The smashing fist icon does a connected-pixel ROI deletion. The histogram icon performs a fill based on current threshold settings. The fill and vertical-fill icons are for rapid but less accurate filling of a region containing some interior holes. The arrow buttons let you nudge the 3D volume-of-interest (VOI) in any cardinal direction.
In the bottom row are icons for selecting the currently active display (axial, coronal, or sagittal). The "comedy/tragedy" icon lets you cycle through a series of mask display options. The empty square momentarily blanks out the ROI so you can see the underlying image. You can also cut, copy and paste ROIs from one plane to another.
Naturally, there are other menus to add confusion and hopefully some useful features, but most of the primary editing features are contained within the above menu.
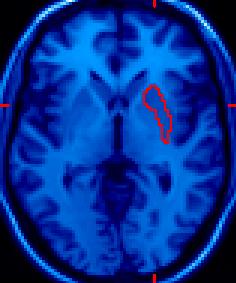 |
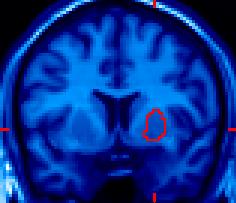
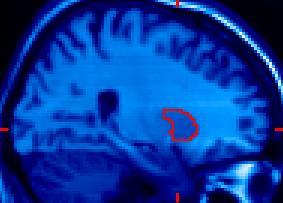
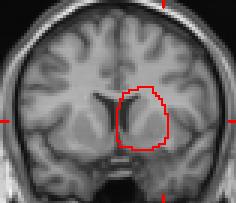
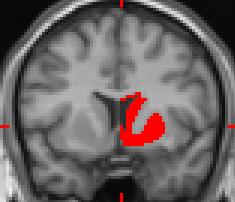
This triplet of images shows a Volume-of-Interest (VOI) drawn on the right putamen. All three orientations (axial, coronal, and sagittal) were used to refine the shape. Changes made to one image are immediately apparent in the other two views. There is no preferred orientation; all three orientations are treated equally. |
 |
 |
 |
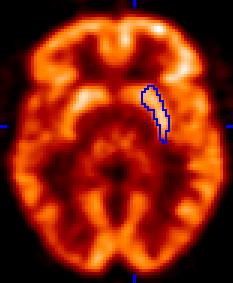 |
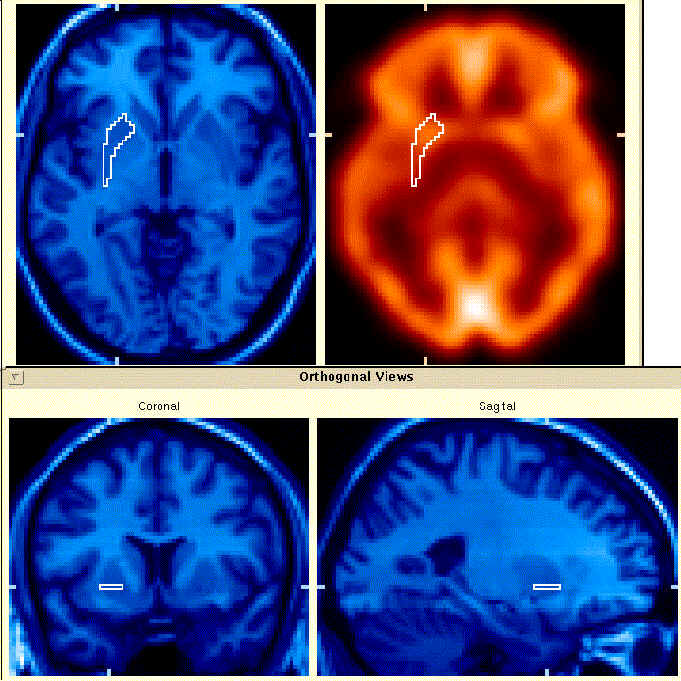
The images to the left show a ROI drawn on a MRI image and applied to (or overlaid on) a PET image. This is frequently done because MRI has better resolution than PET and also because the two modalities yield different information; MRI looks at anatomy or morphology, whereas PET examines a physiological process. The two modalities are complementary, and using information from the MRI data lets you accurately extract PET data from the desired location. |
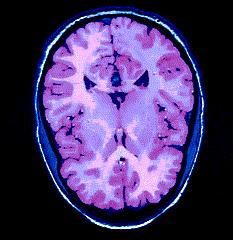
| The near-right image illustrates the standard crosshair indicating the current location. The far-right image shows the result of using a simple connected-pixel search to isolate the brain. The ROI is shown in a translucent pink overlay, which can be helpful for visualizing some types of regions. The connected pixel search did a reasonable job of finding most of the brain; small refinements in the threshold settings and the starting point can make the results better (or worse!). | 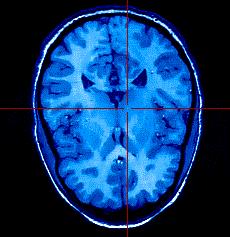 |
 |
 |
 |
This pair of images illustrates BrainMaker's histogram-guided drawing feature, where thresholds limit the pixel values which are accepted into a ROI. A large and sloppy ROI was drawn as shown in the far left image. With the "histo-draw" mode enabled and the thresholds set appropriately, the grey-matter pixels are the only ones that are included in the resulting ROI; white matter and CSF have been excluded. This feature can drastically reduce the amount of time spent drawing many types of VOIs. |